How to use the Plate Builder
Desktop
Mobile
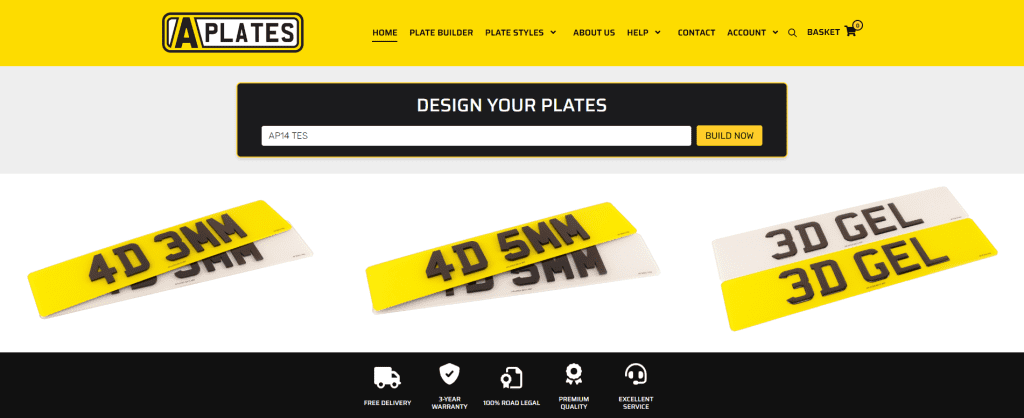
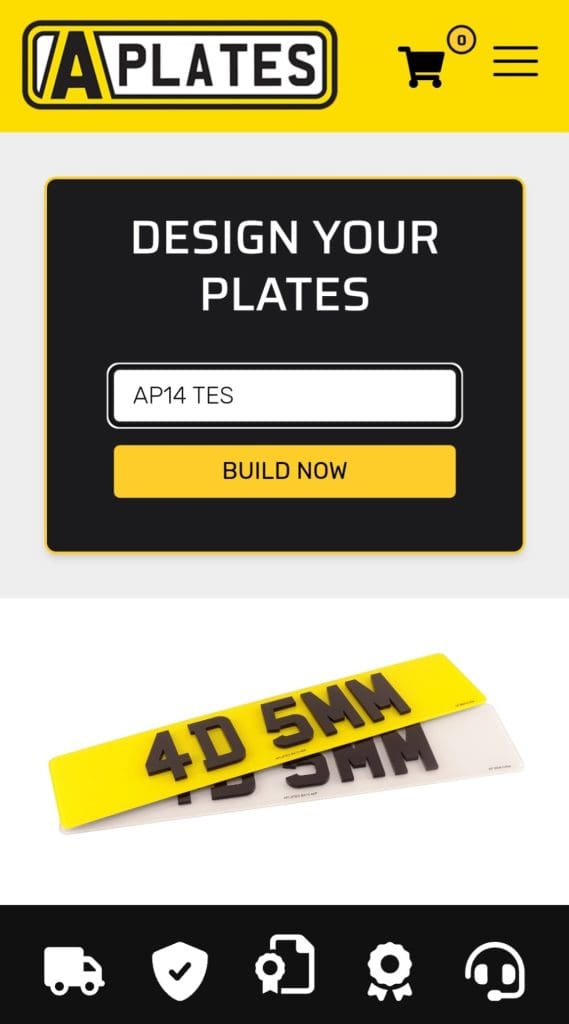
Step 1. Enter your registration
- Enter your registration in the main box on the homepage and click the ‘Build Now’ button.
- Alternatively, head to the ‘Plate Builder’ tab and enter your registration in the ‘Your registration’ box.
Desktop
Mobile
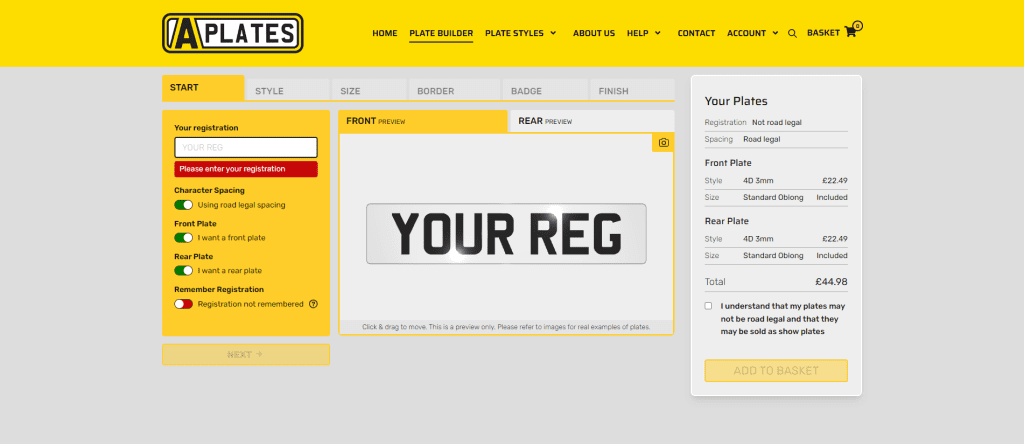
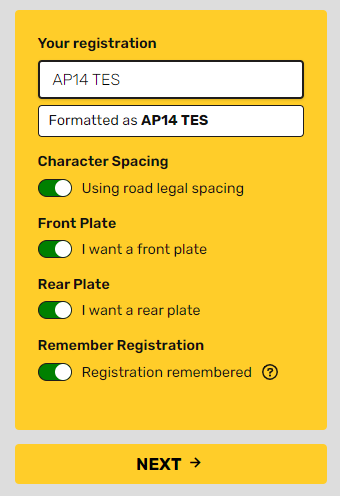
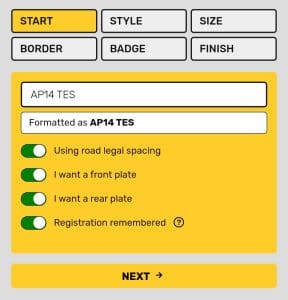
Step 2. Start your order
- Once your registration has been entered, you can choose whether you’d like the Plate Builder to remember your registration. This saves the characters you have entered, so if you click off the page, those characters will remain in the ‘Your registration’ box.
- If you intend to your use your plates on the road, you must enable the ‘Character Spacing’ toggle so it is set to ‘Using road legal spacing’.
- Select which plates you want to order; Front & Rear (Pair), Front only, or Rear only.
Desktop
Mobile
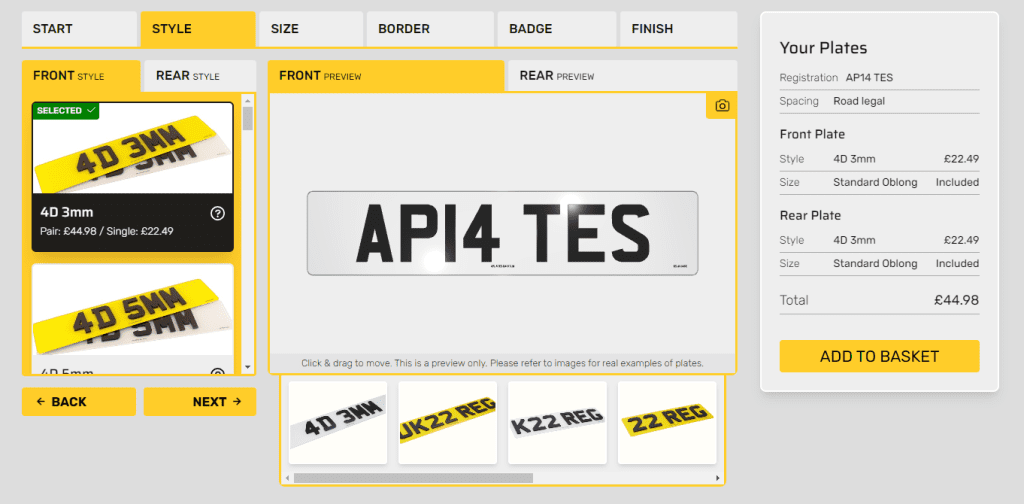
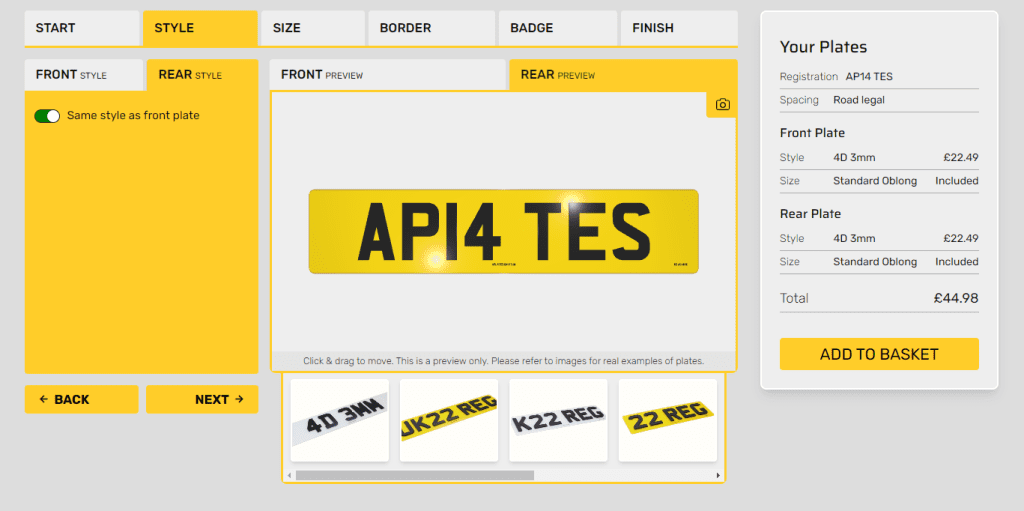
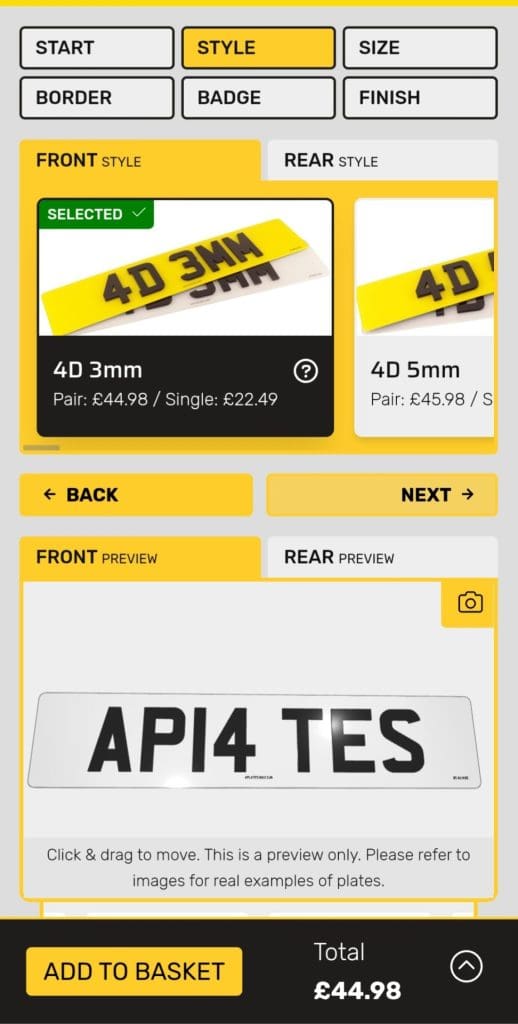
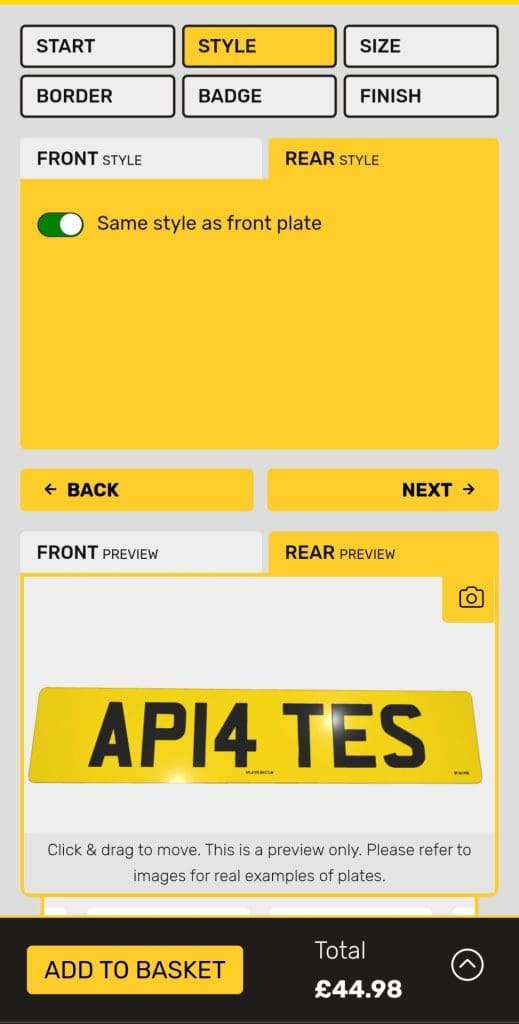
Step 3. Select your plate style
- Select your front plate style (if you are ordering a front plate).
- Select your rear plate style (if you are ordering a rear plate).
Desktop
Mobile
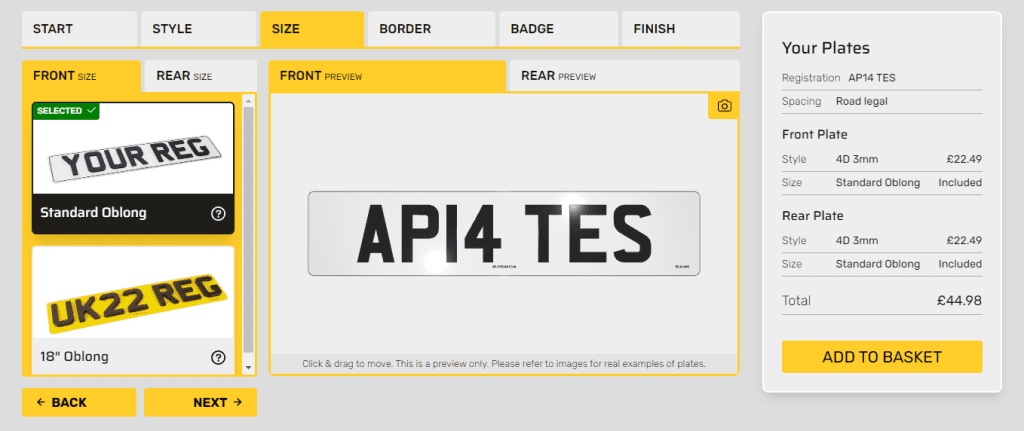
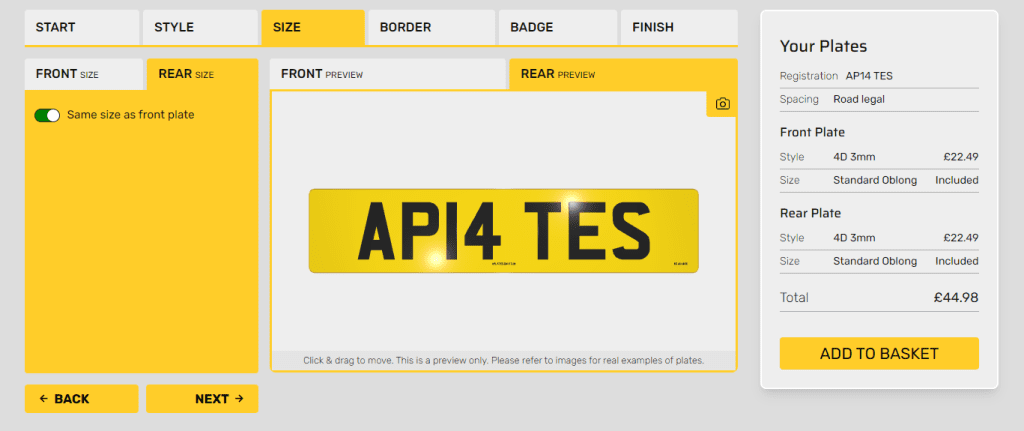
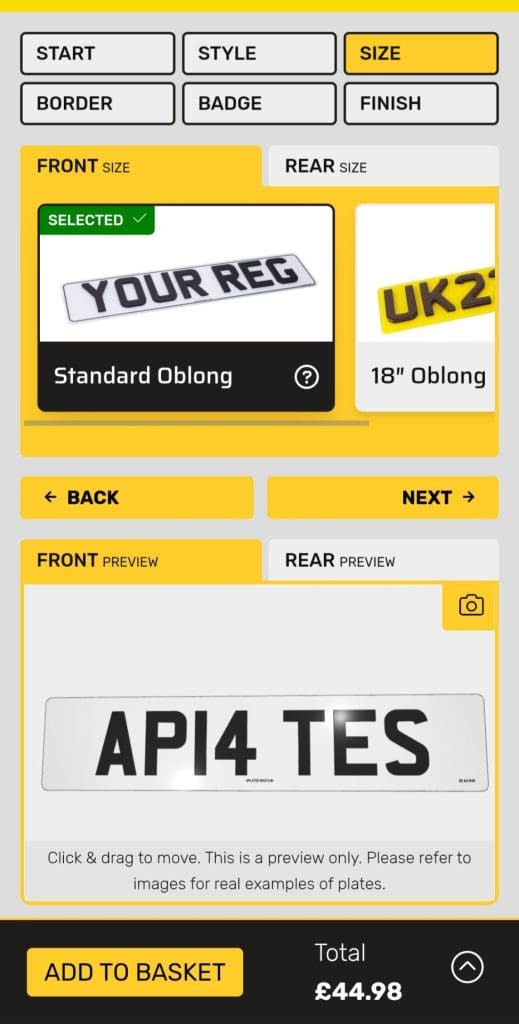
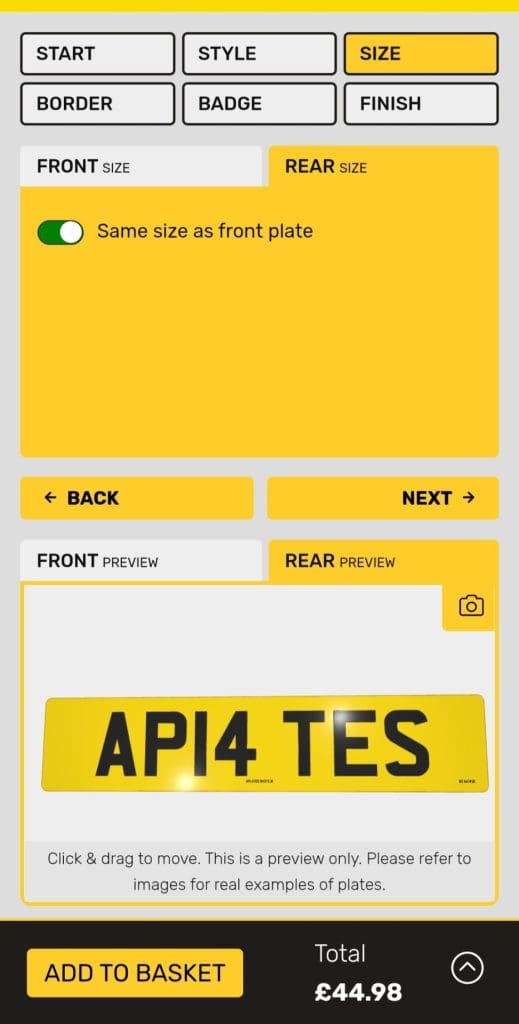
Step 4. Select your plate size
- Select your front plate size (if you are ordering a front plate).
- Select your rear plate size (if you are ordering a rear plate).
- The front & rear sizes can be different from one another.
Desktop
Mobile
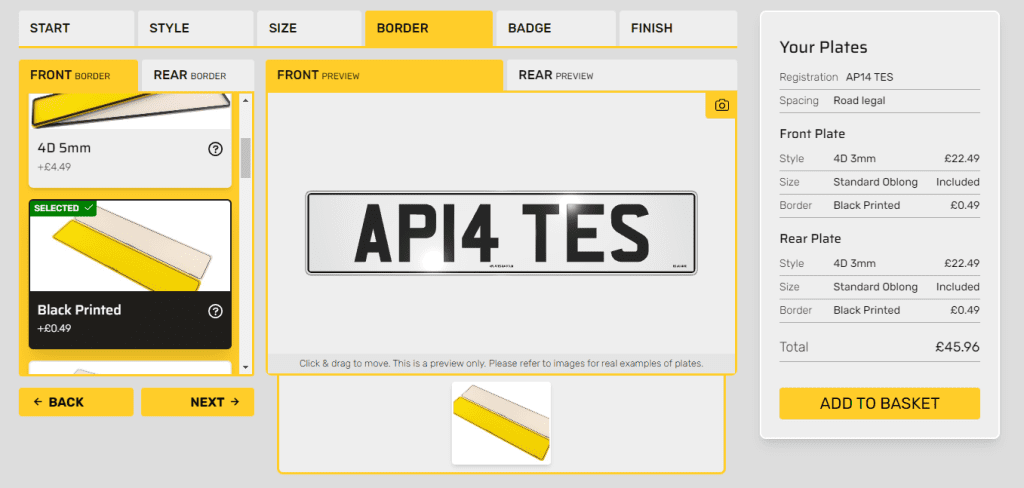
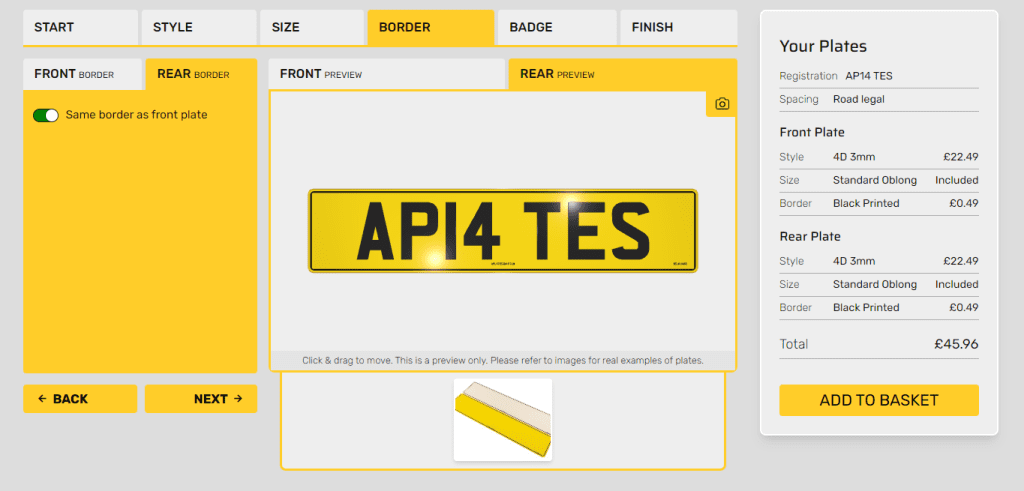
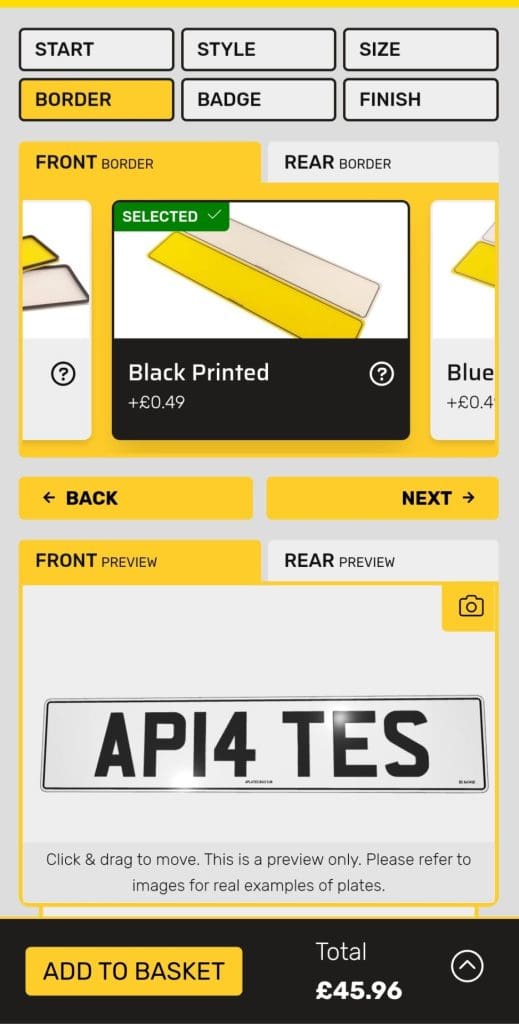
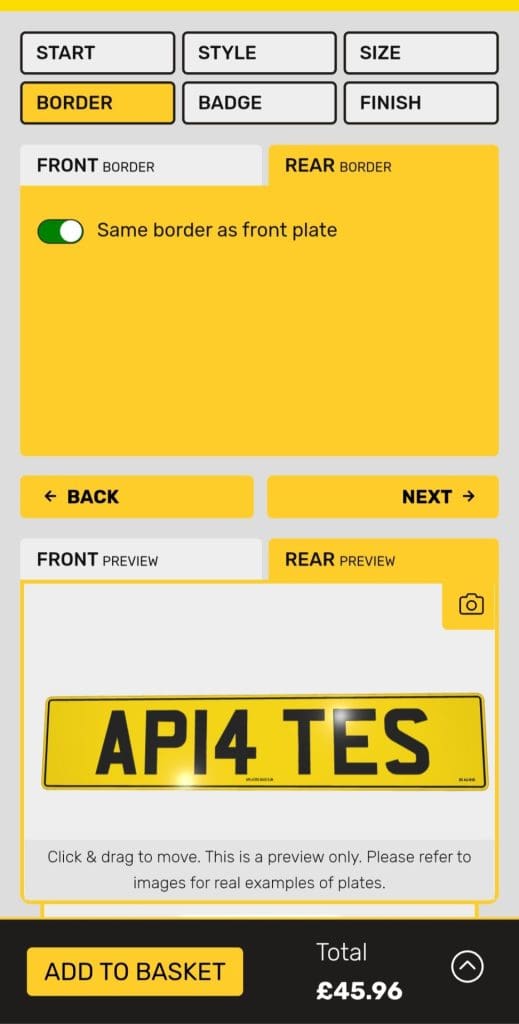
Step 5. Choose your borders
- Choose a front border (if you would like a front border).
- Choose a rear border (if you would like a rear border).
Desktop
Mobile
Step 6. Choose your badges
- Choose a front badge (if you would like a front badge).
- Choose a rear badge (if you would like a rear badge).
Desktop
Mobile
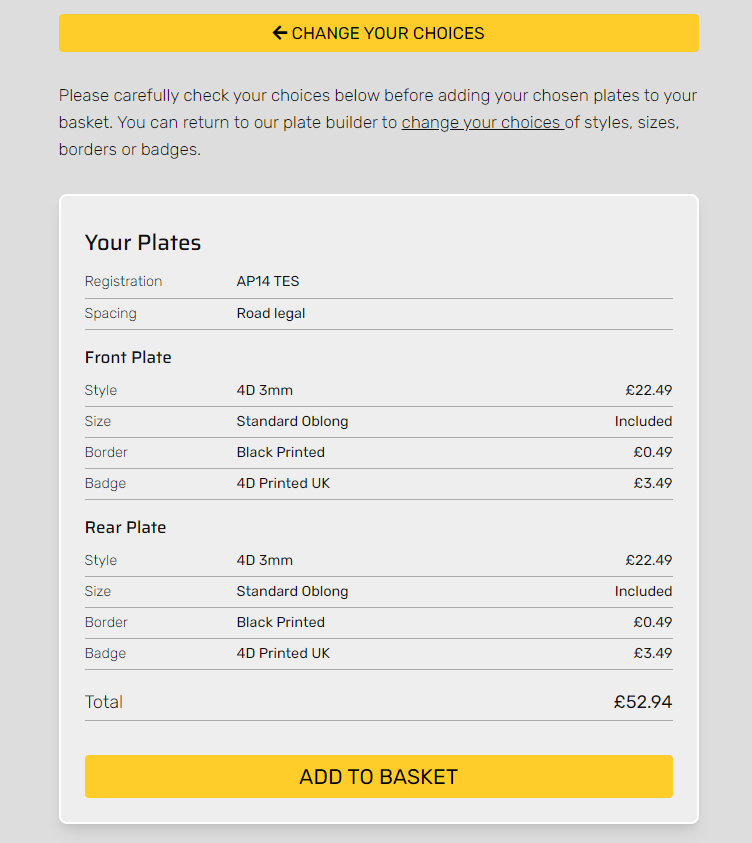
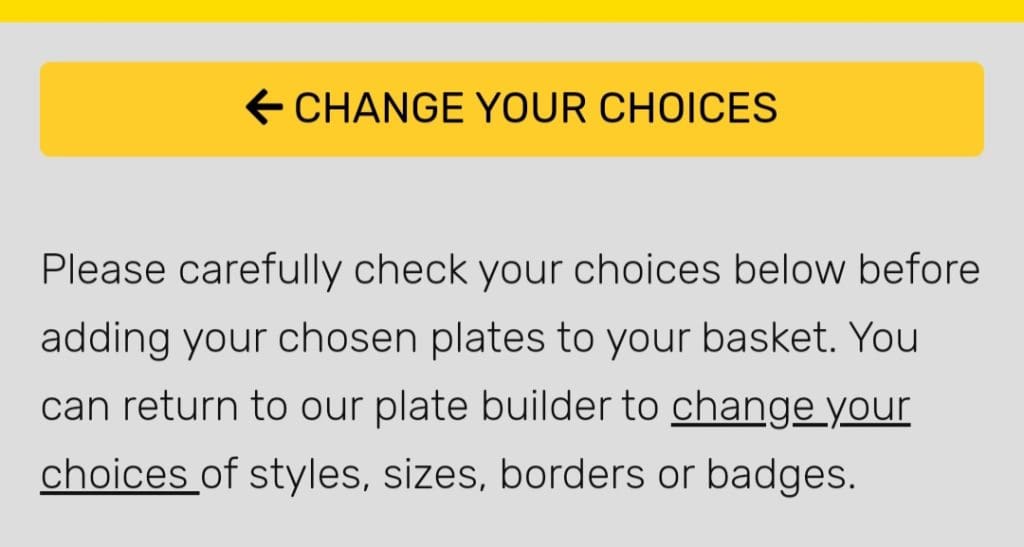
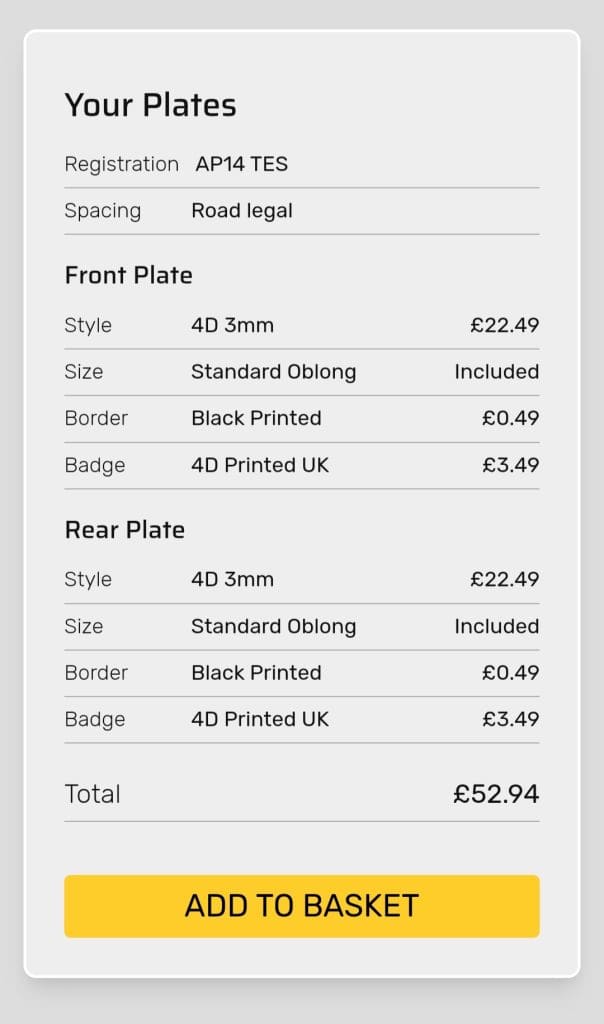
Step 7. Finalise your options & add to basket
- Finalise your choices. Go back and change any if needed.
- Add your plates to your basket.
Desktop
Mobile
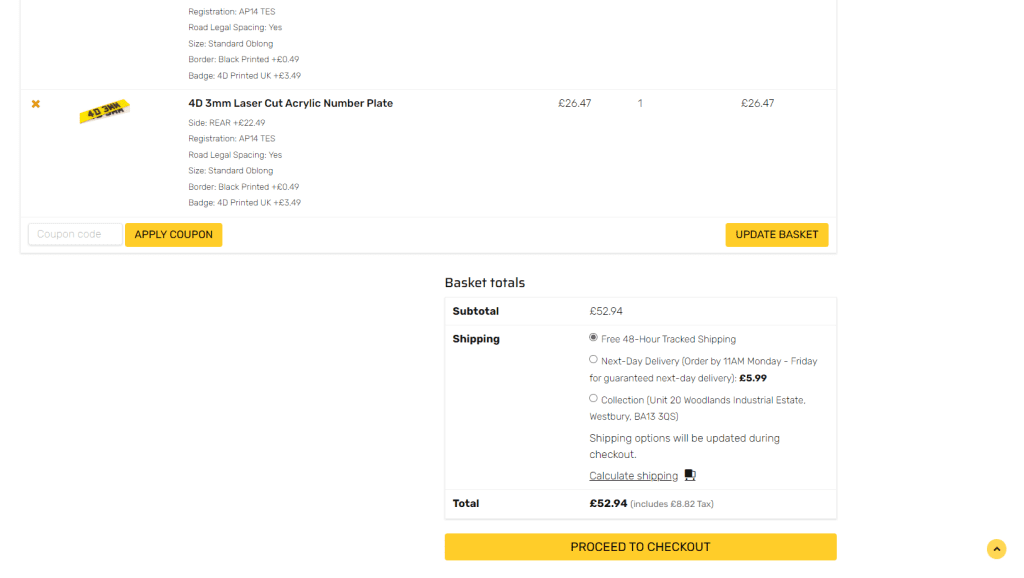
Step 8. Checkout
- Follow the Checkout steps, continuing as a guest or by creating an account.
- Once you have checked out, you will receive a confirmation email.
Desktop
Mobile
